


halo博客+webhook插件+n8n+pushplus实现消息推送
前提准备

n8n
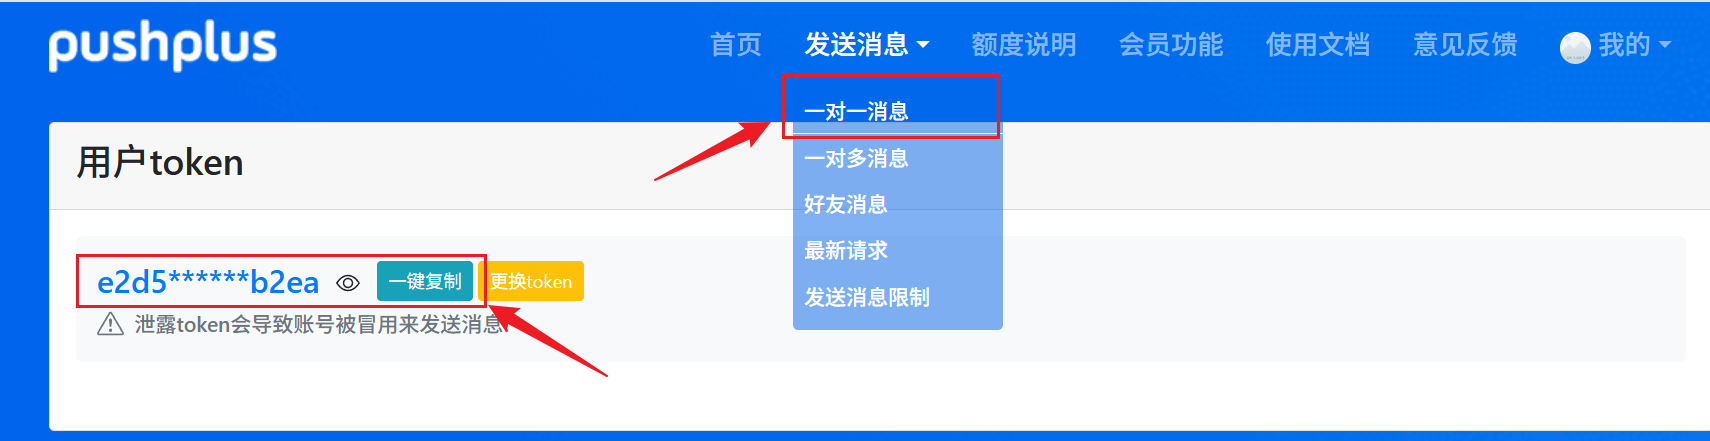
pushplus(获取个token就行)
创建n8n工作流
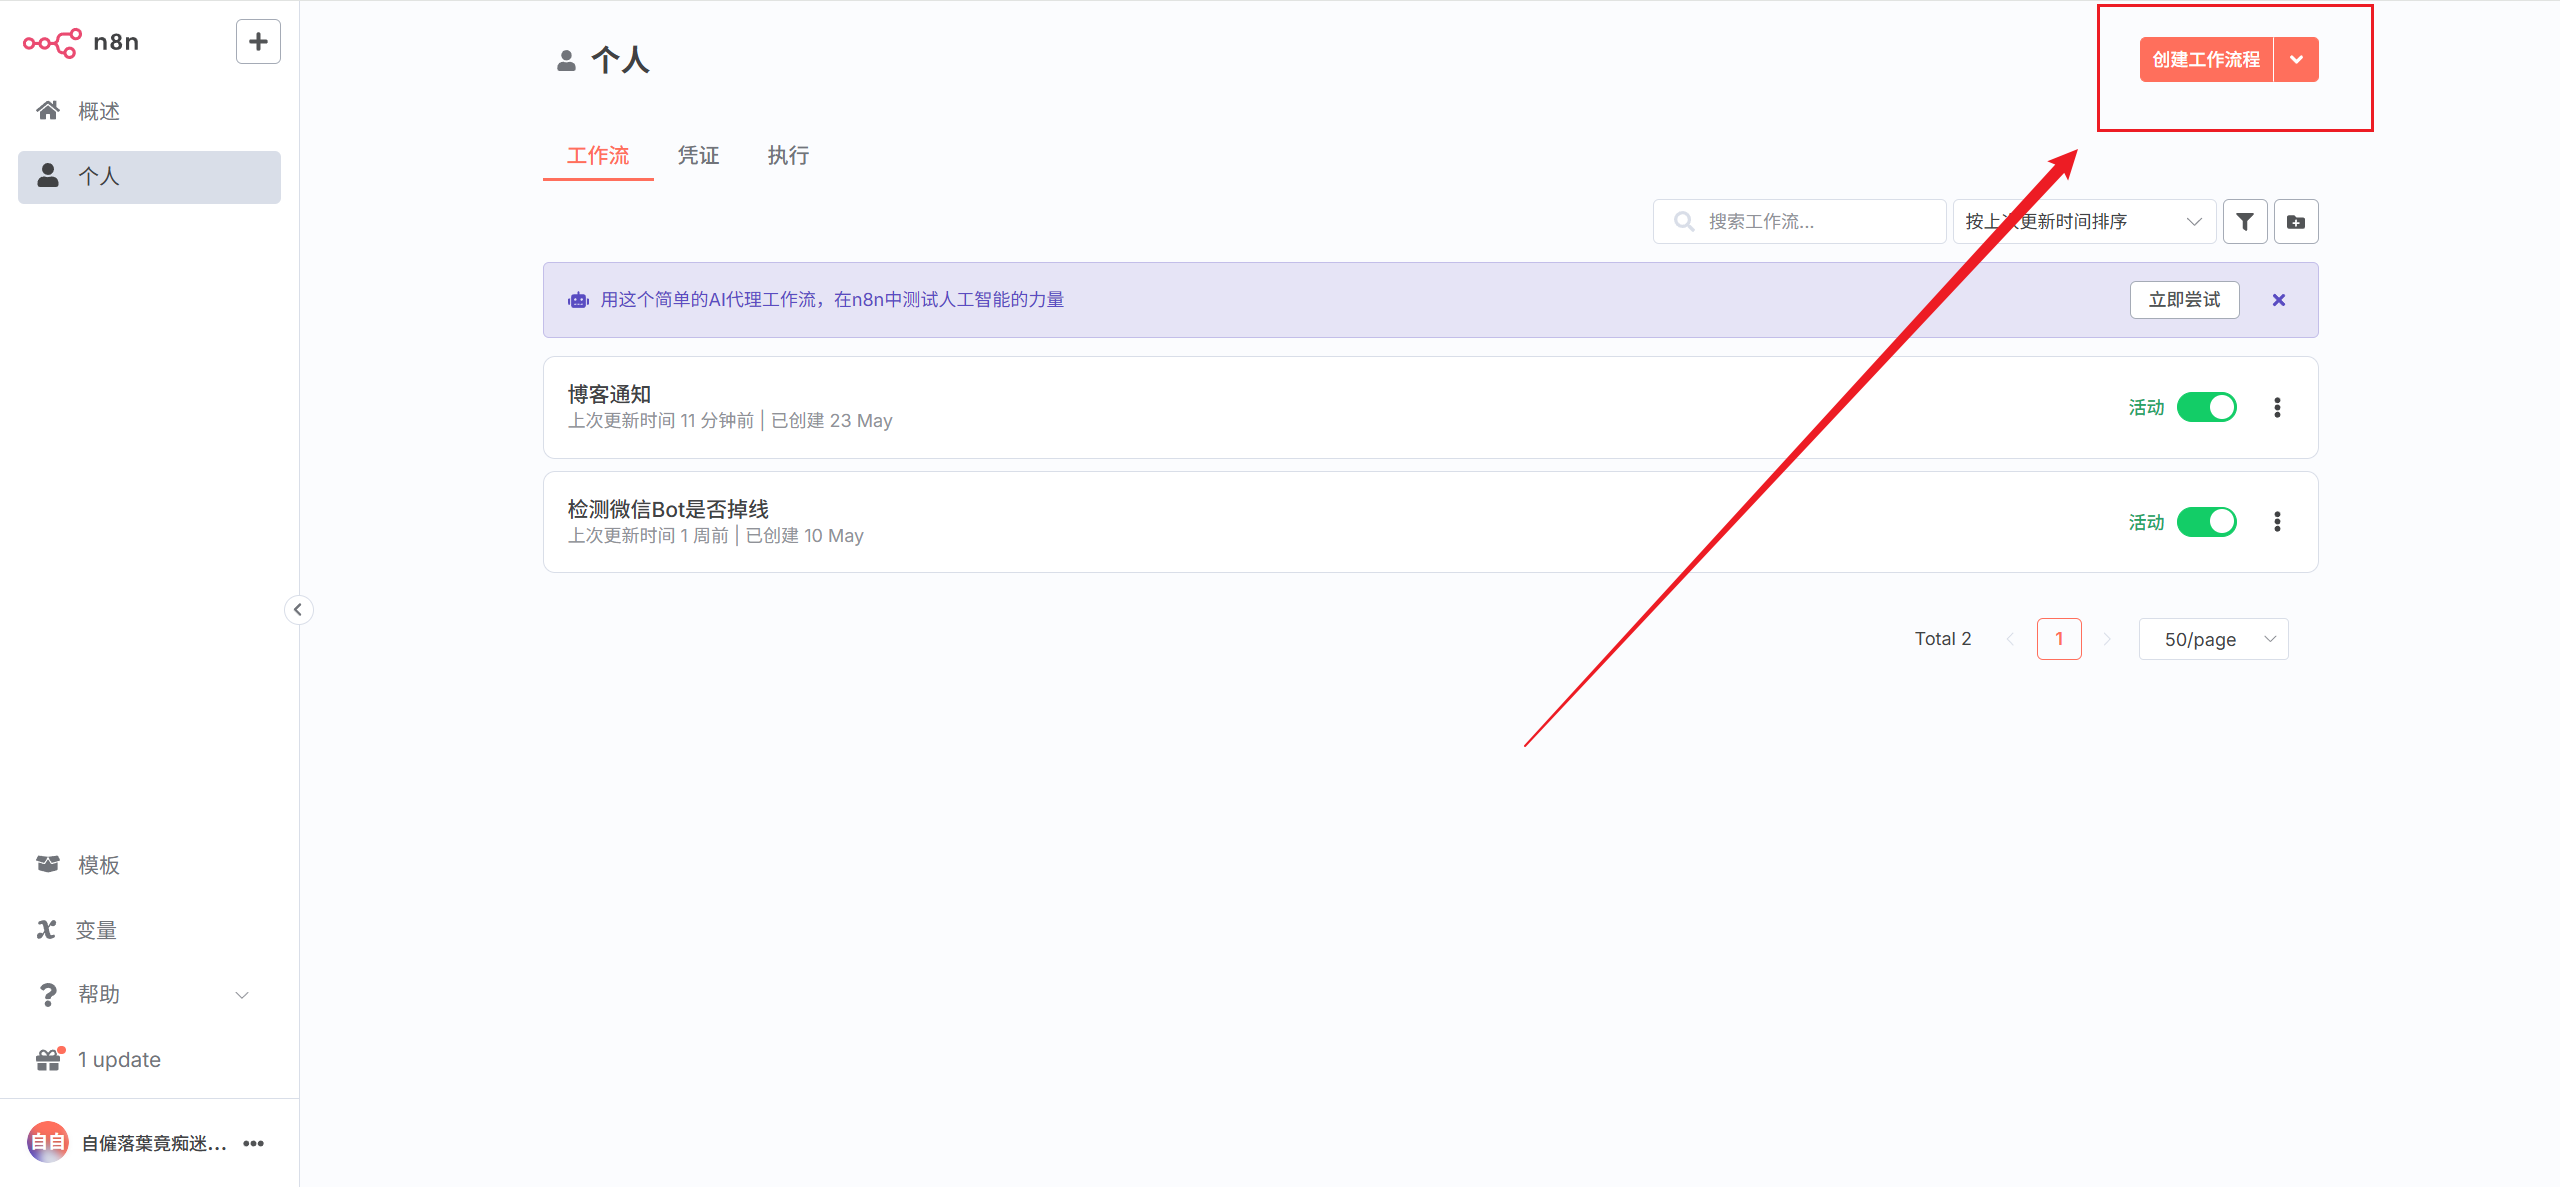
在n8n平台新建一个工作流
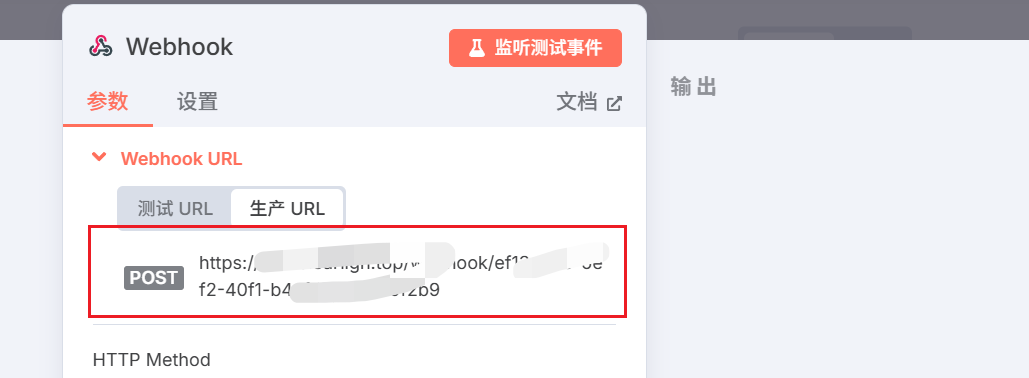
在画布上添加一个webhook节点,然后设置一些必要内容。将HTTP Method 设置为POST,Authentication设置为Header Auth,然后新建一个凭证,这个凭证后面要填到halo博客webhook插件设置那里。
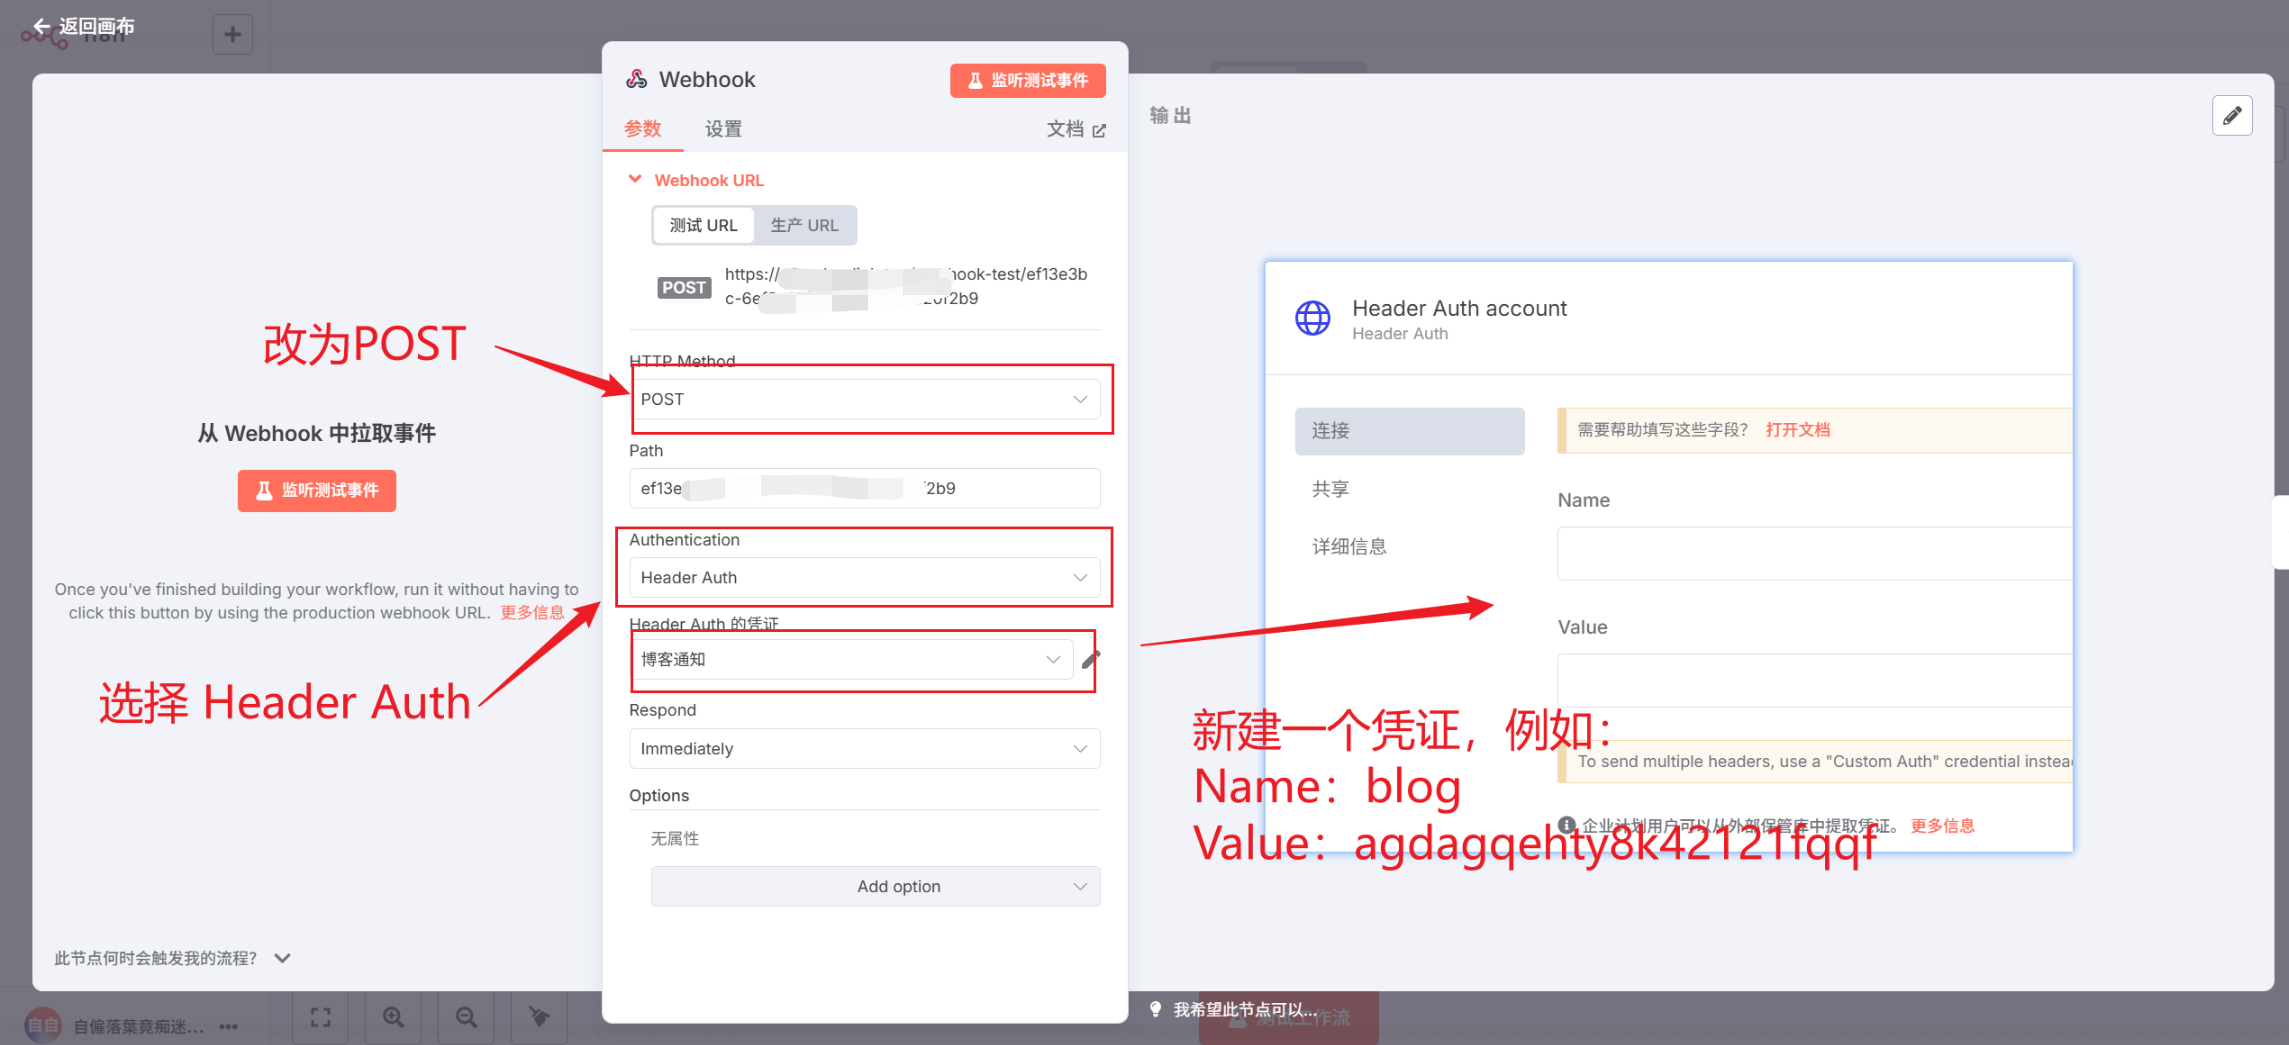
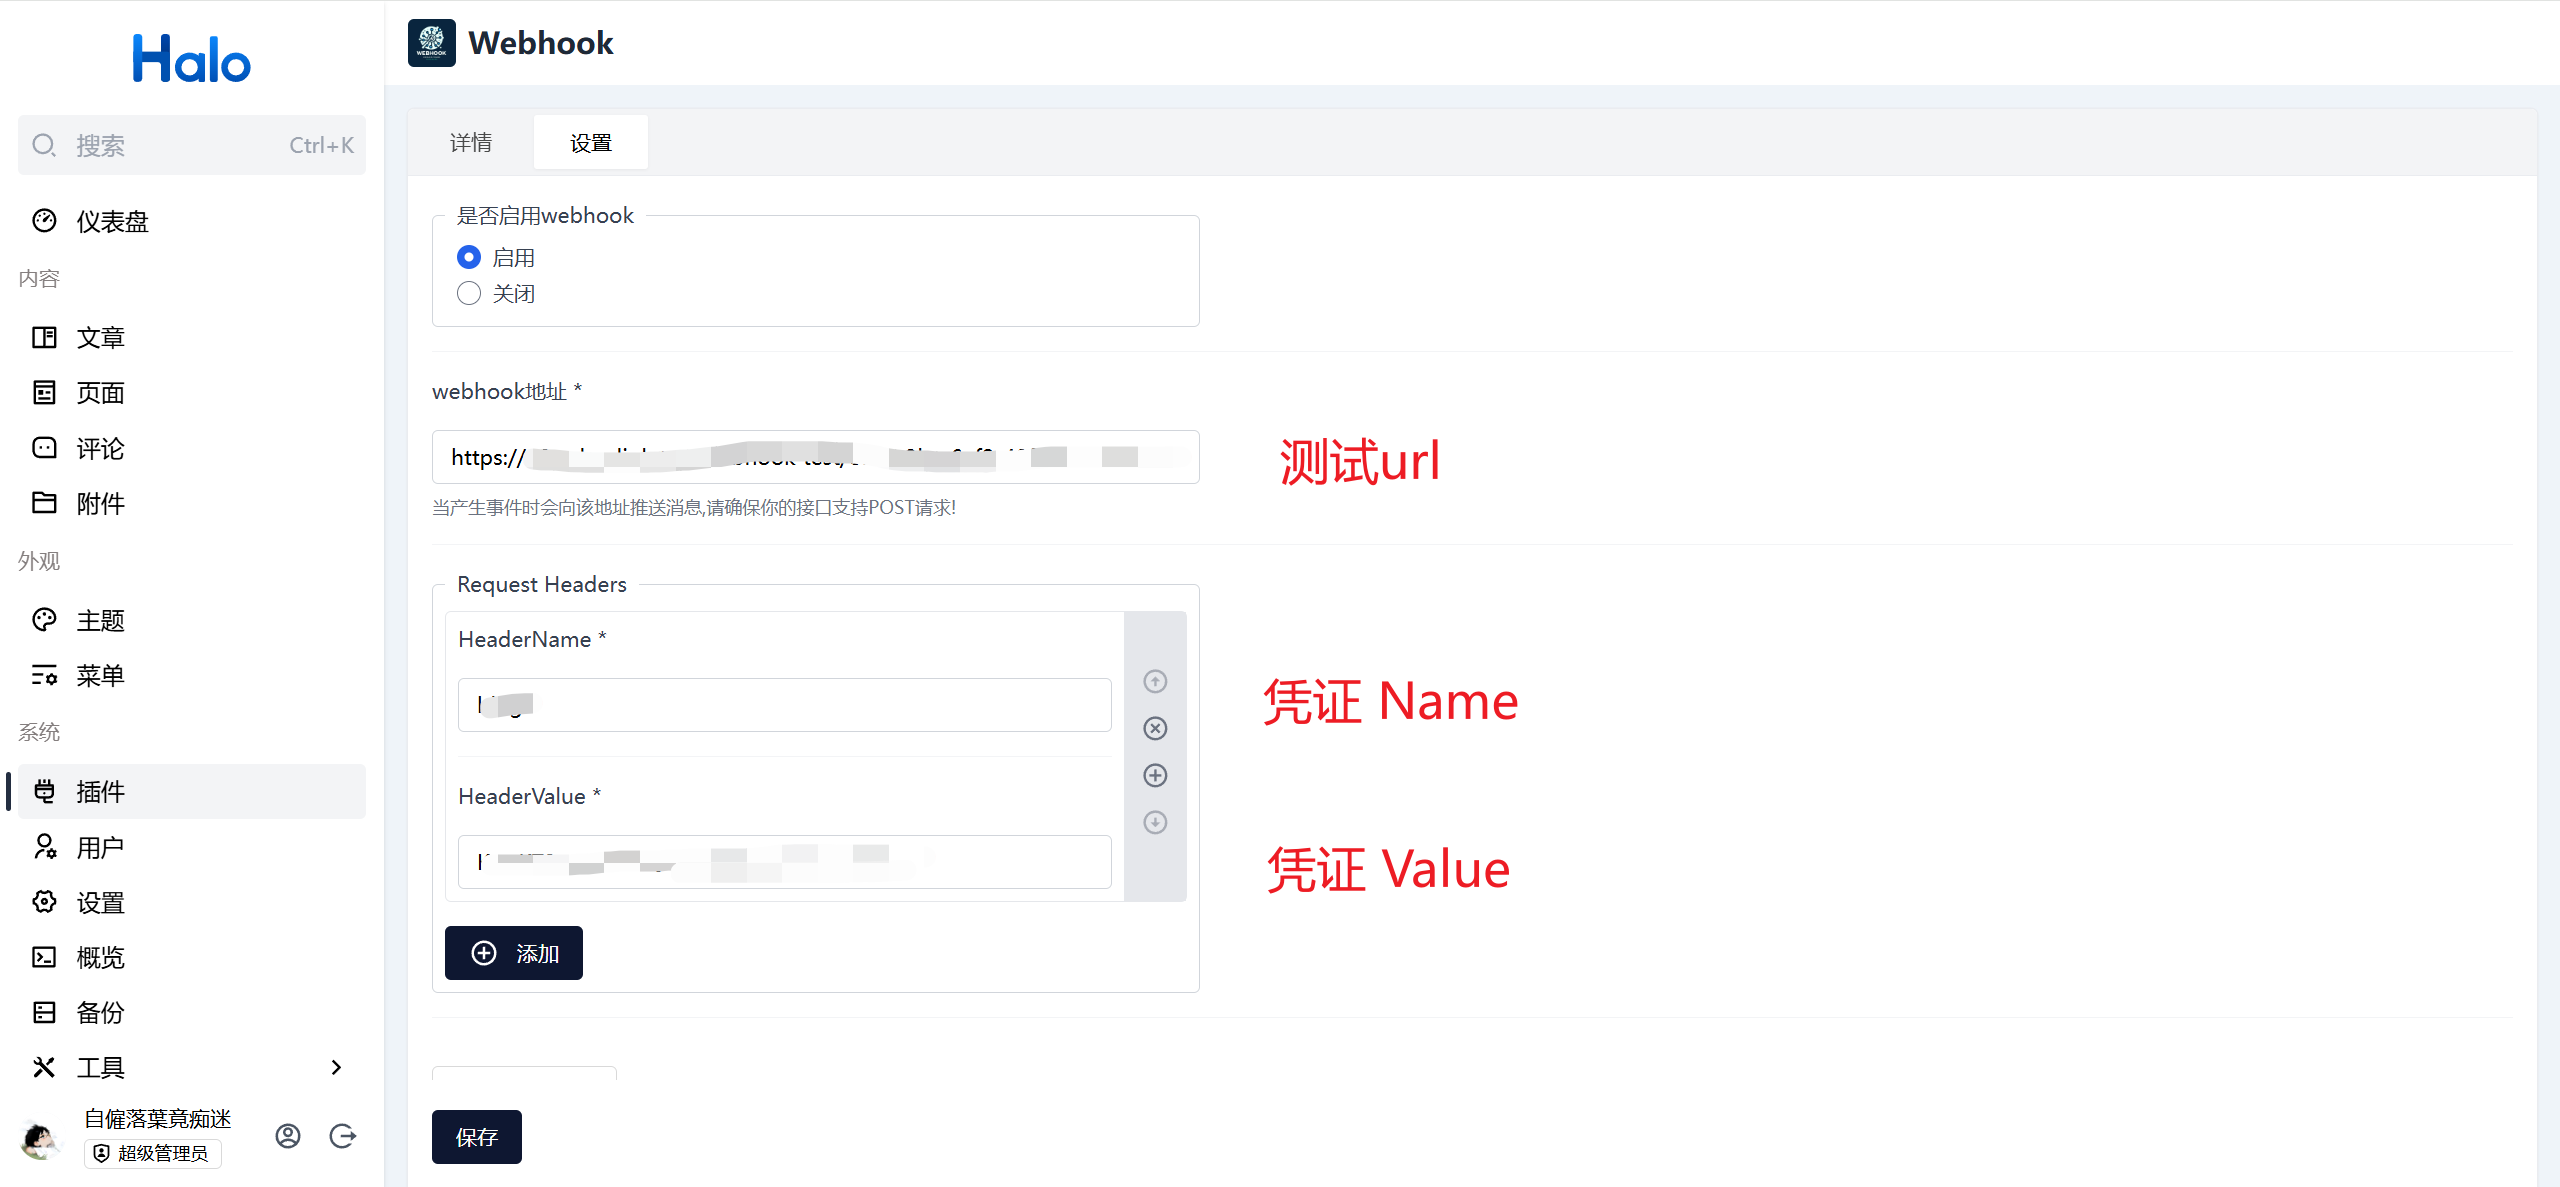
复制测试url和凭证填到webhook插件设置处,
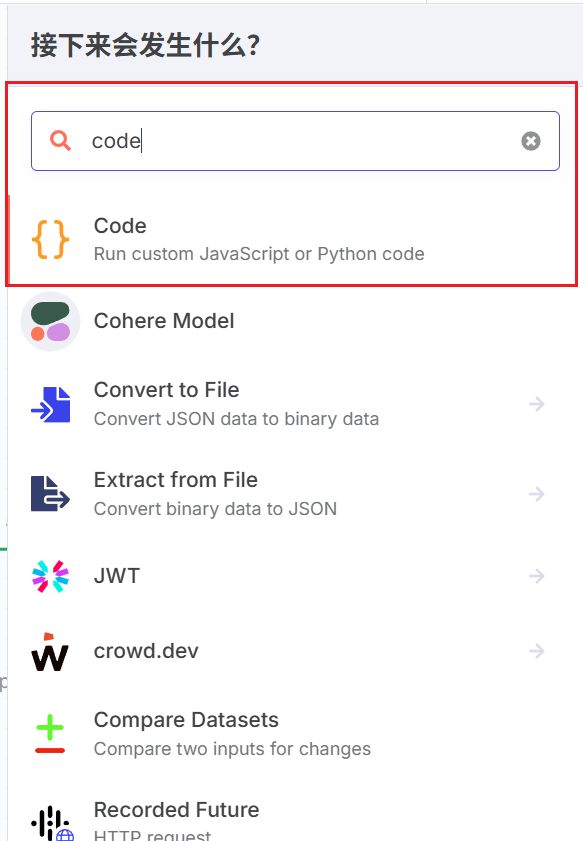
在Webhook节点后面接上一个Code节点,将其语言设置为Python,然后将下面的代码填写进去

eventType = items[0]['json']['body']['eventType']
eventTypeName = items[0]['json']['body']['eventTypeName']
hookTime = items[0]['json']['body']['hookTime']
data = items[0]['json']['body']['data']
def net_post_content_html(data):
link = f"https://blog.clearligh.top{data['permalink']}"
content = (
f"<p>📝 <strong>用户 {data['owner']}</strong> 于 <em>{data['publishTime']}</em> 发布了新文章《<strong>{data['title']}</strong>》</p>"
f"<p>🔗 阅读链接:<a href='{link}' target='_blank'>{link}</a></p>"
)
return content
def net_post_comment_html(data):
content = (
f"<p>💬 <strong>用户 {data['owner']['name']}</strong> 在文章《<strong>{data['singlePageData']['title']}</strong>》下发表了新评论</p>"
f"<p>🗨️ 评论内容:{data['content']}</p>"
f"<p>⏰ 评论时间:{data['createTime']}</p>"
)
return content
def net_post_reply_html(data):
content = (
f"<p>🔄 <strong>用户 {data['owner']['name']}</strong> 回复了用户 <strong>{data['replyComment']['name']}</strong> 在文章《<strong>{data['singlePageData']['title']}</strong>》下的评论</p>"
f"<p>💬 回复内容:{data['content']}</p>"
f"<p>🗨️ 被回复内容:{data['replyComment']['content']}</p>"
f"<p>⏰ 回复时间:{data['replyComment']['createTime']}</p>"
)
return content
if eventType == 'NEW_POST':
output_html = net_post_content_html(data)
elif eventType == 'NEW_COMMENT':
output_html = net_post_comment_html(data)
elif eventType == 'REPLY_COMMENT':
output_html = net_post_reply_html(data)
else:
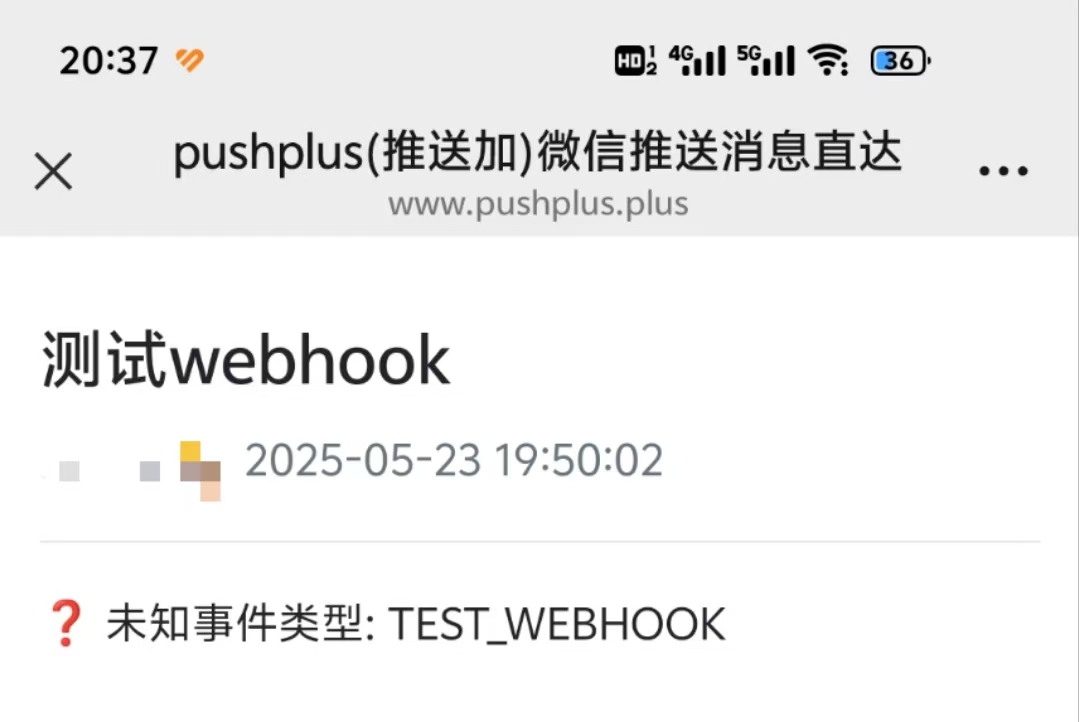
output_html = f"<p>❓ 未知事件类型: {eventType}</p>"
return [{'json': {'title': eventTypeName, 'message': output_html}}]
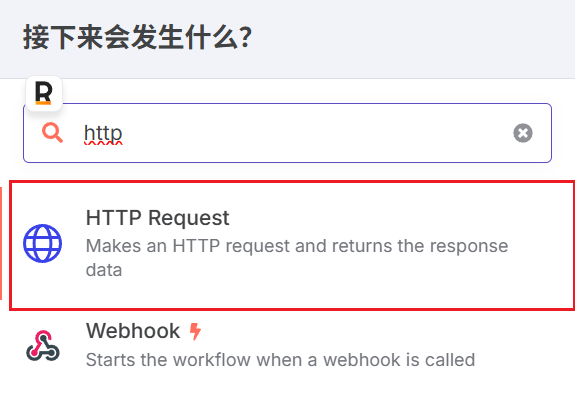
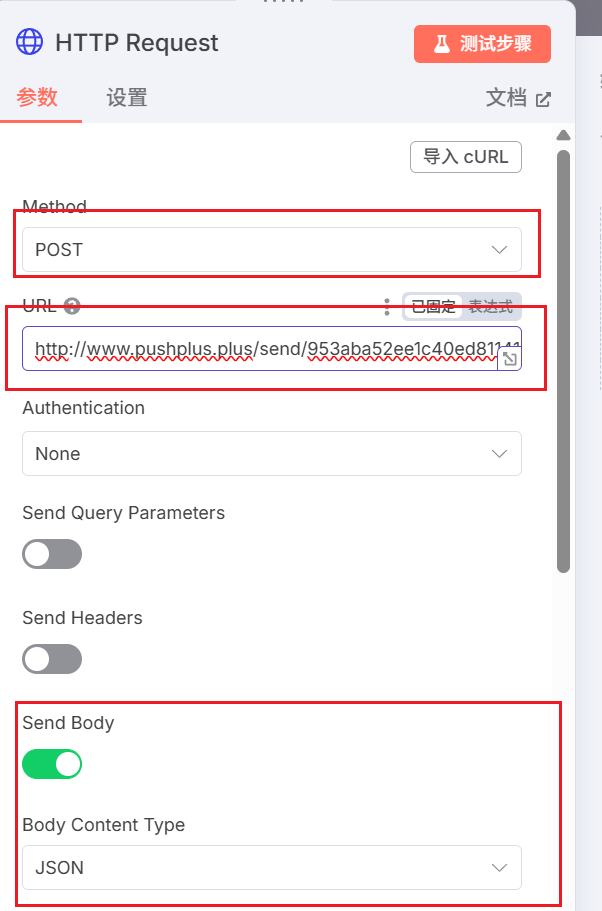
然后在Code节点后面再新建一个HTTP Request 节点,
Method设置成GET,POST,PUT,DELTE都可以,然后URL为http://www.pushplus.plus/send/你的token ,token在pushplus官网获取,Send Boby选项打开,Boby Content Type选择JSON。
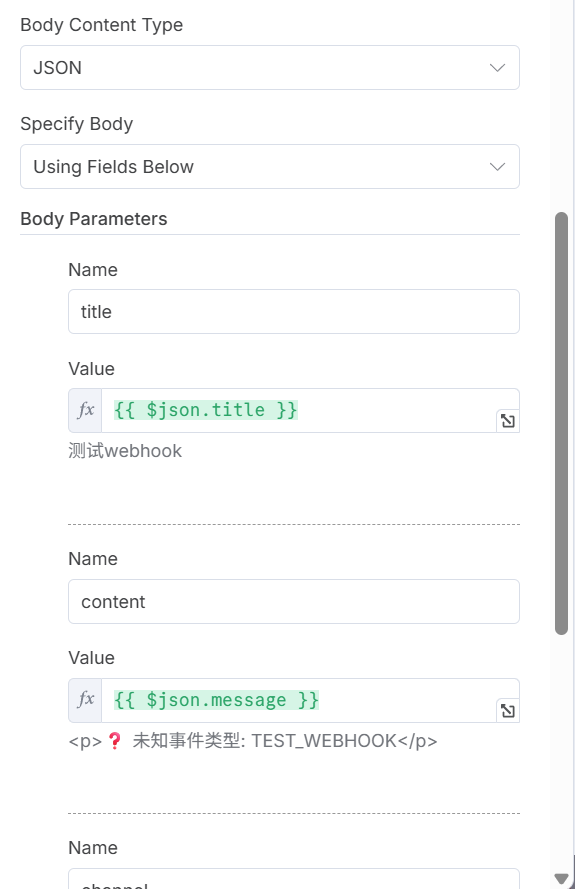
Body Parameters 创建 title 和content即可,
{{ $json.title }}           title填这个,然后选择表达式
{{ $json.message }}         content填这个,然后选择表达式
至此n8n工作流基本完成了,下面是测试。
测试
先在n8n平台点击“测试工作流”,在halo博客webhook插件那里点击“测试webhook”,
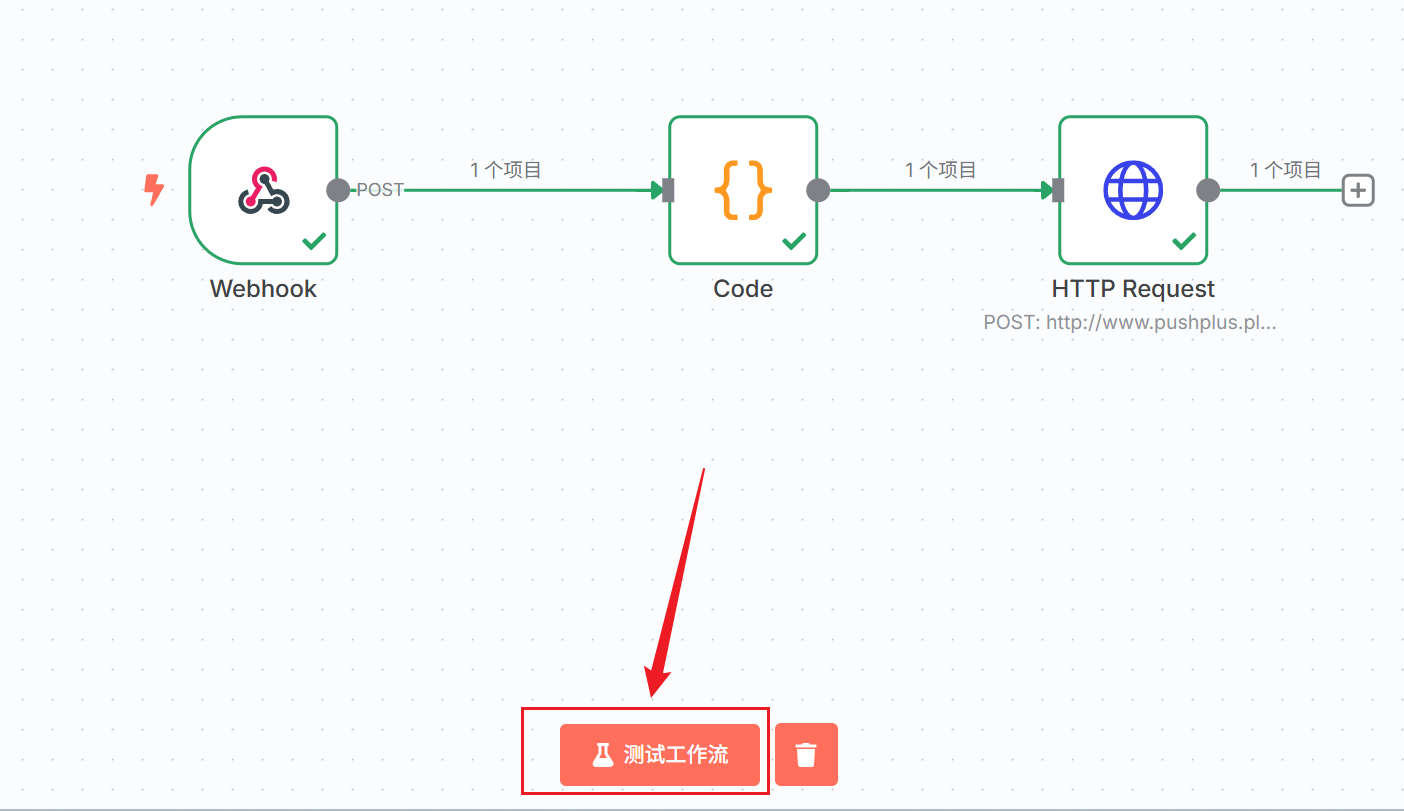
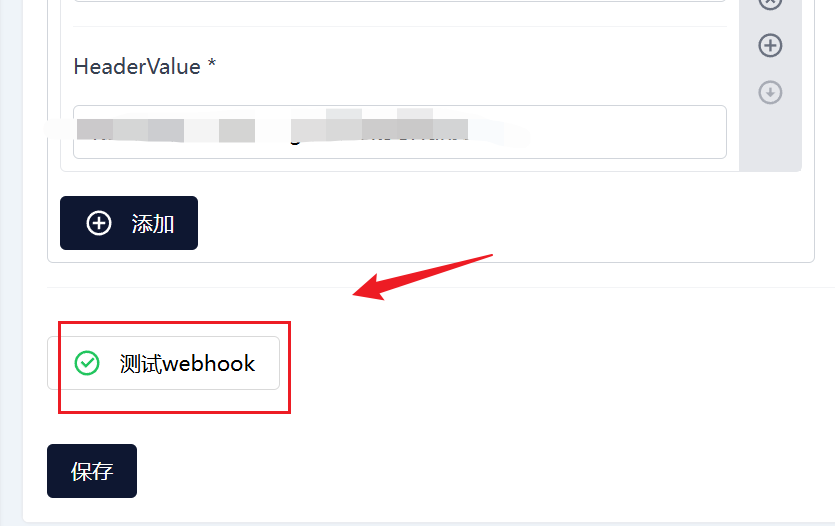
如果公众号那里收到消息则说明整个工作流工作正常。
上线
测试没有问题后就可以正式上线运行了,,修改webhook插件中的地址为生产URL,然后将工作流状态改为活动

补充
n8n更改中文
下载n8n中文包,将其上传到一个目录下,例如/root/n8ncn,然后解压
tar -xzf editor-ui.tar.gz
解压后会有个dist文件夹,需要先将原有的n8n容器删除,然后重新启动个容器
docker run -it --rm --name n8n \
-p 15678:5678 \
-v 【解压出来的dist文件夹】:/usr/local/lib/node_modules/n8n/node_modules/n8n-editor-ui/dist \
-e N8N_DEFAULT_LOCALE=zh-CN \
-e N8N_SECURE_COOKIE=false \
n8nio/n8n
也就是将解压出来的dist文件夹挂载到容器内部的
/usr/local/lib/node_modules/n8n/node_modules/n8n-editor-ui/dist位置然后添加变量
N8N_DEFAULT_LOCALE=zh-CN
指定n8nAPI链接
当通过域名访问以及套CDN(CDN需要开启WebSocket)后还需要添加变量,否则前端 editor-ui 无法正确与后端交互
N8N_HOST=你的域名(不带http/https)
WEBHOOK_URL=https://域名
VUE_APP_URL_BASE_API=https://域名