

Ansible自动化部署芋道项目
介绍
Ansible 是一个极其简单的 IT 自动化系统。它可用于配置管理、应用部署、云资源配置、临时任务执行、网络自动化以及多节点编排。Ansible 能轻松实现诸如零停机时间的滚动更新(结合负载均衡器)等复杂操作。
准备工作
项目所需文件在此处下载:Ansible项目所需文件 提取码(访问码:xrw4)
准备4台ubuntu24.04的虚拟机,具体配置如下
修改为静态ip
修改/etc/netplan/50-cloud-init.yaml文件
network:
  version: 2
  renderer: networkd
  ethernets:
    ens33:
      dhcp4: no
      addresses:
        - 192.168.254.134/24
      routes:
        - to: default
          via: 192.168.254.2
      nameservers:
        addresses: [8.8.8.8, 114.114.114.114]
然后执行netplan apply
禁用ipv6
编辑/etc/sysctl.conf文件
net.ipv6.conf.all.disable_ipv6 = 1
net.ipv6.conf.default.disable_ipv6 = 1
net.ipv6.conf.lo.disable_ipv6 = 1
更换为国内源
(不推荐)编辑/etc/apt/sources.list文件
deb https://mirrors.aliyun.com/ubuntu/ noble main restricted universe multiverse
deb-src https://mirrors.aliyun.com/ubuntu/ noble main restricted universe multiverse

deb https://mirrors.aliyun.com/ubuntu/ noble-security main restricted universe multiverse
deb-src https://mirrors.aliyun.com/ubuntu/ noble-security main restricted universe multiverse

deb https://mirrors.aliyun.com/ubuntu/ noble-updates main restricted universe multiverse
deb-src https://mirrors.aliyun.com/ubuntu/ noble-updates main restricted universe multiverse

# deb https://mirrors.aliyun.com/ubuntu/ noble-proposed main restricted universe multiverse
# deb-src https://mirrors.aliyun.com/ubuntu/ noble-proposed main restricted universe multiverse

deb https://mirrors.aliyun.com/ubuntu/ noble-backports main restricted universe multiverse
deb-src https://mirrors.aliyun.com/ubuntu/ noble-backports main restricted universe multiverse
(推荐)编辑/etc/apt/sources.list.d/ubuntu.sources文件
sudo mv /etc/apt/sources.list /etc/apt/sources.list.bakTypes: deb
URIs: https://mirrors.aliyun.com/ubuntu/
Suites: noble noble-updates noble-backports
Components: main restricted universe multiverse
Signed-By: /usr/share/keyrings/ubuntu-archive-keyring.gpg
Types: deb
URIs: https://mirrors.aliyun.com/ubuntu/
Suites: noble-security
Components: main restricted universe multiverse
Signed-By: /usr/share/keyrings/ubuntu-archive-keyring.gpg然后更新软件源`
sudo apt clean
sudo apt update
安装Ansible
安装配置uv
安装python和pip
apt install python3-pip -y安装uv
pip install uv --break-system-packages -i https://pypi.tuna.tsinghua.edu.cn/simple提示Successfully installed uv-0.7.13就说明成功安装uv
配置uv
mkdir -p ~/.config/uv/
vim ~/.config/uv/uv.toml
~/.config/uv/uv.toml文件内容如下
[[index]]
url = "https://pypi.tuna.tsinghua.edu.cn/simple"
default = true
用uv安装ansible
uv tool install ansible-core
uv tool update-shell然后重新连接终端后输入ansible --version,出现版本号ansible [core 2.18.6]即安装成功
创建ssh密钥并分发
ssh-keygen -t ed25519分发密钥到其他三台机子上
ssh-copy-id -i ~/.ssh/id_ed25519.pub root@192.168.254.134
ssh-copy-id -i ~/.ssh/id_ed25519.pub root@192.168.254.135
ssh-copy-id -i ~/.ssh/id_ed25519.pub root@192.168.254.136
测试
ssh root@192.168.254.134如果能无密码登录则说明分发成功。
创建ansible目录
mkdir /etc/ansible && cd /etc/ansible在ansible目录下创建一个hosts文件,将其他3台机子的ip地址填写进去
192.168.254.134
192.168.254.135
192.168.254.136
使用下面命令测试是否通
ansible all -m ping
创建一个ansible.cfg文件,配置一下其他机子的默认的python解释器目录
[defaults]
interpreter_python = /usr/bin/python3.12
timeout = 5

[ssh_connection]
ssh_args = -o ConnectTimeout=5运行ansible all -m ping后提示如下内容则配置完成
192.168.254.136 | SUCCESS => {
    "changed": false,
    "ping": "pong"
}
192.168.254.135 | SUCCESS => {
    "changed": false,
    "ping": "pong"
}
192.168.254.134 | SUCCESS => {
    "changed": false,
    "ping": "pong"
}
芋道项目部署
介绍
3个角色分别是
build:构建前后端项目
db:中间件(mysql、redis、nacos)
server:运行前后端项目
创建ansible项目
创建ansible目录和文件
mkdir -p /opt/ansible/{group_vars,inventory,playbooks,roles} && cd /opt/ansible编辑配置文件
vim /opt/ansible/ansible.cfg[defaults]
inventory = inventory/hosts.ini
host_key_checking = False
retry_files_enabled = False
remote_user = root
roles_path = ./roles
interpreter_python = /usr/bin/python3.12
vault_password_file = /root/vault_pass.txt在inventory目录下创建hosts.ini文件
[server]
server1 ansible_host=192.168.254.136
[db]
db1 ansible_host=192.168.254.135
[build]
build1 ansible_host=192.168.254.134
创建build角色
ansible-galaxy init roles/build && cd roles/build编写build task
进入到tasks文件下
cd tasks安装npm
到node.js官网下载node-v22.16.0-linux-x64.tar.xz文件,并将其上传到/opt/ansible/roles/build/files目录中
在/opt/ansible/roles/build/tasks目录中创建install_npm.yml文件
- name: 复制nodejs安装包
  copy:
    src: node-v22.16.0-linux-x64.tar.xz
    dest: /opt/
- name: 解压nodejs
  unarchive:
    src: /opt/node-v22.16.0-linux-x64.tar.xz
    dest: /opt/
    remote_src: yes
  args:
    creates: /opt/node-v22.16.0-linux-x64
- name: 写入系统profile.d
  copy:
    dest: /etc/profile.d/nodejs.sh
    content: |
      export PATH=/opt/node-v22.16.0-linux-x64/bin:$PATH
    mode: '0755'
- name: 配置环境
  shell: |
    source /etc/profile.d/nodejs.sh
    npm config set registry https://mirrors.cloud.tencent.com/npm/
    npm install -g pnpm
  args:
    executable: /bin/bash
安装vue3
在/opt/ansible/roles/build/tasks目录中创建build_vue3.yml文件
- name: 克隆 yudao-ui-admin-vue3 仓库
  git:
    repo: https://gitee.com/yudaocode/yudao-ui-admin-vue3.git
    dest: /opt/yudao-ui-admin-vue3
    version: v2.6.0
    force: yes  # 如果已有目录强制更新(可选)

- name: 替换后端地址
  replace:
    path: /opt/yudao-ui-admin-vue3/.env.local
    regexp: 'localhost'
    replace: '192.168.254.136'

- name: 安装构建 - pnpm install
  shell: |
    source /etc/profile.d/nodejs.sh
    cd /opt/yudao-ui-admin-vue3
    pnpm install
    pnpm build:local
  args:
    executable: /bin/bash

- name: 打包远程目录
  ansible.builtin.command:
    cmd: tar czf /tmp/yudao-vue3.tar.gz -C /opt/yudao-ui-admin-vue3/dist .
  args:
    creates: /tmp/yudao-vue3.tar.gz

- name: 获取文件到 Ansible 控制节点
  ansible.builtin.fetch:
    src: /tmp/yudao-vue3.tar.gz  # 构建机器上的文件路径
    dest: ../roles/server/files/      # 控制节点上的临时目录
    flat: yes
  run_once: true # 确保只执行一次,即使有多个主机在 play 中

- name: 清理已复制的 tar 包和目录
  ansible.builtin.file:
    path: "{{ item }}"
    state: absent
    force: yes
  loop:
    - /opt/yudao-ui-admin-vue3/dist
    - /tmp/yudao-vue3.tar.gz
安装java
在/opt/ansible/roles/build/tasks目录中创建build_java.yml文件
- name: 安装JAVA和maven
  apt:
    name:
      - openjdk-21-jdk
      - maven
    state: present
- name: 配置 Maven 阿里云镜像
  blockinfile:
    path: /etc/maven/settings.xml
    marker: "<!-- {mark} ANSIBLE MANAGED MIRROR BLOCK -->"
    insertafter: "<mirrors>"
    block: |
      <mirror>
        <id>aliyunmaven</id>
        <mirrorOf>central</mirrorOf>
        <name>aliyun maven</name>
        <url>https://maven.aliyun.com/repository/central/</url>
      </mirror>
  become: yes
- name: 克隆 yudao-cloud 仓库
  git:
    repo: https://gitee.com/zhijiantianya/yudao-cloud.git
    dest: /opt/yudao-cloud
    version: v2.6.0(jdk17/21)
    force: yes  # 如果已有目录强制更新(可选)
- name: 替换中间件地址
  shell: |
    find ./ -name application-local.yaml -print0 | xargs -0 sed -i 's|jdbc:mysql://127.0.0.1:3306|jdbc:mysql://{{ hostvars['db1'].ansible_host }}:3306|g'
    find ./ -name application-local.yaml -print0 | xargs -0 sed -i 's|host: 127.0.0.1 # 地址|host: {{ hostvars['db1'].ansible_host }} # 地址|g'
    find ./ -name application-local.yaml -print0 | xargs -0 sed -i 's|server-addr: 127.0.0.1:8848|server-addr: {{ hostvars['db1'].ansible_host }}|g'
    find ./ -name application-local.yaml -print0 | xargs -0 sed -i 's|password:.*|password: {{ db_password }}|g'
  args:
    chdir: /opt/yudao-cloud
- name: 安装构建 - mvn
  shell: mvn clean package -Dmaven.test.skip=true
  args:
    chdir: /opt/yudao-cloud
    executable: /bin/bash
- name: 复制jar包到主控机
  ansible.builtin.fetch:
    src: "/opt/yudao-cloud/{{ item }}"
    dest: ../roles/server/files/
    flat: yes
  loop:
    - ./yudao-gateway/target/yudao-gateway.jar
    - ./yudao-module-system/yudao-module-system-server/target/yudao-module-system-server.jar
    - ./yudao-module-infra/yudao-module-infra-server/target/yudao-module-infra-server.jar
修改main.yml文件导入install_npm.yml、build_vue3.yml、build_java.yml子 Playbook
修改main.yml文件
- import_tasks: install_npm.yml
- import_tasks: build_vue3.yml
- import_tasks: build_java.yml
创建db角色
在/opt/ansible目录下创建
ansible-galaxy init roles/db && cd roles/db编写db task
将redis_7.4.4.deb、redis-server_7.4.4.deb、redis-tools_7.4.4.deb、nacos.service、ruoyi-vue-pro.sql、nacos-server-2.5.1.zip、mysql-server_8.4.4-1ubuntu24.04_amd64.deb-bundle.tar上传到db/files目录下。
进入到角色db目录下的tasks目录下
安装mysql数据库
先在/root/vault_pass.txt目录下创建该文件并修改权限为600,在该文件中写入密钥(例如:5jYsPvNgyMHubtbQ7U5YmVCbPsKQFQZAhKBgH)
chmod 600 /root/vault_pass.txt
然后在group_vars/db.yml文件中填写数据库密码
db_password: "123456"
在ansible目录下执行命令加密数据库密码
ansible-vault encrypt group_vars/db.yml
如果需要修改数据库密码,需要想将其解密,更改完后再重新加密,也可以使用view查看解密后的数据(自动解密)
⚠️因为我们在
/opt/ansible/ansible.cfg文件中定义了vault_password_file = /root/vault_pass.txt即解密所需的文件(填写了密钥的文件),所以在用ansible-vault命令加解密、查看等操作时会自动使用解密文件解密,如果不定义vault_password_file那么要在ansible-vault命令后显式指定解密文件--vault-password-file或者使用--ask-vault-password交互式输入密钥。ansible-vault decrypt group_vars/db.yml #解密 ansible-vault view group_vars/db.yml #查看解密后的数据 ansible-vault view group_vars/db.yml --vault-password-file /root/vault_pass.txt #显式指定解密文件 ansible-vault view group_vars/db.yml --ask-vault-password #交互式输入密钥
创建mysql_install.yml文件
---
- name: 更新 apt 软件包缓存
  ansible.builtin.apt:
    update_cache: yes
    cache_valid_time: 3600

- name: 安装所需依赖项
  ansible.builtin.apt:
    name:
      - libaio1t64
      - libmecab2
      - debconf-utils
    state: present

- name: 获取所有服务
  ansible.builtin.service_facts:

- name: 定义持久目录用于存放 MySQL DEB 包
  ansible.builtin.set_fact:
    mysql_deb_dest_dir: "/opt/mysql_installer_debs"

- name: 创建持久目录
  ansible.builtin.file:
    path: "{{ mysql_deb_dest_dir }}"
    state: directory
    mode: '0755'

- name: 设置 MySQL root 密码(用于非交互安装)
  ansible.builtin.debconf:
    name: mysql-community-server
    question: "{{ item.question }}"
    value: "{{ item.value }}"
    vtype: "{{ item.vtype }}"
  loop:
    - { question: 'mysql-community-server/root-pass', value: "{{ db_password }}", vtype: 'password' }
    - { question: 'mysql-community-server/re-root-pass', value: "{{ db_password }}", vtype: 'password' }
  when: "'mysql.service' not in ansible_facts.services"

- name: 解压 MySQL DEB Bundle
  ansible.builtin.unarchive:
    src: mysql-server_8.4.4-1ubuntu24.04_amd64.deb-bundle.tar
    dest: "{{ mysql_deb_dest_dir }}"
    remote_src: no
  when: "'mysql.service' not in ansible_facts.services"

- name: 安装 mysql-common
  ansible.builtin.apt:
    deb: "{{ mysql_deb_dest_dir }}/mysql-common_8.4.4-1ubuntu24.04_amd64.deb"
    state: present
  when: "'mysql.service' not in ansible_facts.services"

- name: 安装客户端组件
  ansible.builtin.apt:
    deb: "{{ item }}"
    state: present
  loop:
    - "{{ mysql_deb_dest_dir }}/mysql-community-client-plugins_8.4.4-1ubuntu24.04_amd64.deb"
    - "{{ mysql_deb_dest_dir }}/mysql-community-client-core_8.4.4-1ubuntu24.04_amd64.deb"
    - "{{ mysql_deb_dest_dir }}/mysql-community-client_8.4.4-1ubuntu24.04_amd64.deb"
    - "{{ mysql_deb_dest_dir }}/mysql-client_8.4.4-1ubuntu24.04_amd64.deb"
  when: "'mysql.service' not in ansible_facts.services"

- name: 安装服务器组件
  ansible.builtin.apt:
    deb: "{{ item }}"
    state: present
  loop:
    - "{{ mysql_deb_dest_dir }}/mysql-community-server-core_8.4.4-1ubuntu24.04_amd64.deb"
    - "{{ mysql_deb_dest_dir }}/mysql-community-server_8.4.4-1ubuntu24.04_amd64.deb"
    - "{{ mysql_deb_dest_dir }}/mysql-server_8.4.4-1ubuntu24.04_amd64.deb"
  when: "'mysql.service' not in ansible_facts.services"

- name: 清理解压目录(可选)
  ansible.builtin.file:
    path: "{{ mysql_deb_dest_dir }}"
    state: absent
导入数据库配置和表
创建mysql_initdb.yml
- name: 更新 apt 软件包缓存
  ansible.builtin.apt:
    update_cache: yes
    cache_valid_time: 3600
  when: ansible_os_family == "Debian"

- name: 安装 pip3 工具(确保 pip 可用)
  ansible.builtin.apt:
    name: python3-pip
    state: present
    update_cache: yes
  when: ansible_os_family == "Debian"

- name: 安装 PyMySQL 依赖库
  ansible.builtin.pip:
    name: PyMySQL
    extra_args: --break-system-packages

- name: 检查数据库 'ruoyi-vue-pro' 是否存在
  community.mysql.mysql_query:
    query: "SELECT SCHEMA_NAME FROM information_schema.SCHEMATA WHERE SCHEMA_NAME = 'ruoyi-vue-pro';"
    login_user: root
    login_password: "{{ db_password }}"
  register: db_exists_check

# 创建数据库(仅当不存在时)
- name: 创建数据库 'ruoyi-vue-pro'(如不存在)
  community.mysql.mysql_db:
    name: ruoyi-vue-pro
    state: present
    login_user: root
    login_password: "{{ db_password }}"
  when: db_exists_check.rowcount is defined and db_exists_check.rowcount[0] == 0
  register: db_created

# 检查表是否存在(当数据库已存在时)
- name: 检查 'ruoyi-vue-pro' 数据库中的 'system_users' 表是否存在
  community.mysql.mysql_query:
    query: "SELECT TABLE_NAME FROM information_schema.TABLES WHERE TABLE_SCHEMA = 'ruoyi-vue-pro' AND TABLE_NAME = 'system_users';"
    login_user: root
    login_password: "{{ db_password }}"
  register: table_exists_check
  when: db_exists_check.rowcount is defined and db_exists_check.rowcount[0] > 0

# 判断是否需要导入 SQL
- name: 设置是否需要导入 SQL 的标志位
  ansible.builtin.set_fact:
    should_import_sql: >-
      {{ (db_created is defined and db_created.changed) or
         (table_exists_check is defined and table_exists_check.rowcount[0] == 0) }}

# 复制 SQL 文件到远程服务器
- name: 复制初始化 SQL 文件
  ansible.builtin.copy:
    src: files/ruoyi-vue-pro.sql
    dest: /tmp/ruoyi-vue-pro.sql
    mode: '0644'
  when: should_import_sql

# 导入 SQL 数据
- name: 导入初始化 SQL 到数据库 'ruoyi-vue-pro'
  community.mysql.mysql_db:
    name: ruoyi-vue-pro
    state: import
    target: /tmp/ruoyi-vue-pro.sql
    login_user: root
    login_password: "{{ db_password }}"
  when: should_import_sql

# 清理 SQL 文件
- name: 清理导入后的 SQL 文件
  ansible.builtin.file:
    path: /tmp/ruoyi-vue-pro.sql
    state: absent
  when: should_import_sql

- name: Create root@% user for remote access via mysql CLI
  ansible.builtin.shell: |
    mysql -uroot -p'{{ db_password }}' -e "
    CREATE USER IF NOT EXISTS 'root'@'%' IDENTIFIED WITH caching_sha2_password BY '{{ db_password }}';
    GRANT ALL PRIVILEGES ON *.* TO 'root'@'%' WITH GRANT OPTION;
    FLUSH PRIVILEGES;"
安装redis数据库
创建redis_install.yml
- name: 获取系统服务状态
  ansible.builtin.service_facts:

- name: 如果 Redis 未运行,则执行离线安装流程
  block:
    - name: 创建临时目录用于存放 .deb 包
      ansible.builtin.tempfile:
        state: directory
        suffix: redis_debs
      register: temp_deb_dir

    - name: 复制 Redis .deb 包到目标机器
      ansible.builtin.copy:
        src: "{{ item }}"
        dest: "{{ temp_deb_dir.path }}/"
        mode: '0644'
      loop:
        - files/redis_7.4.4.deb
        - files/redis-server_7.4.4.deb
        - files/redis-tools_7.4.4.deb

    - name: 离线安装所有 Redis .deb 包
      ansible.builtin.apt:
        deb: "{{ temp_deb_dir.path }}/{{ item }}"
        state: present
      loop:
        - redis-tools_7.4.4.deb
        - redis-server_7.4.4.deb
        - redis_7.4.4.deb

    - name: 清理临时 .deb 包目录
      ansible.builtin.file:
        path: "{{ temp_deb_dir.path }}"
        state: absent

    - name: 确保 Redis 服务已启动并设置为开机自启
      ansible.builtin.systemd:
        name: redis-server
        state: started
        enabled: yes
    - name: 修改 Redis 配置为允许远程连接(bind 和 protected-mode)
      ansible.builtin.lineinfile:
        path: /etc/redis/redis.conf
        regexp: "{{ item.regexp }}"
        line: "{{ item.line }}"
      loop:
        - { regexp: '^bind\s+', line: 'bind 0.0.0.0' }
        - { regexp: '^protected-mode\s+', line: 'protected-mode no' }
    - name: 重启 Redis 服务
      ansible.builtin.systemd:
        name: redis-server
        state: restarted
  when: "'redis-server.service' not in ansible_facts.services"
安装nacos
创建nacos_install.yml
- name: 获取系统服务状态
  ansible.builtin.service_facts:

- name: 如果 nacos未运行,则执行离线安装流程
  block:
    - name: 确保目标机器已安装 unzip 工具
      ansible.builtin.apt: # 或者 yum/dnf 模块,取决于你的 Linux 发行版
        name:
          - unzip
          - openjdk-21-jdk
        state: present
      retries: 3 # 最多重试10次
      delay: 10 # 每次重试前等待15秒

    - name: 定义持久目录用于存放nacos的目录
      ansible.builtin.set_fact:
        nacos_dir: "/opt/"

    - name: 远程复制并解压nacos 包
      ansible.builtin.unarchive:
        src: nacos-server-2.5.1.zip
        dest: "{{ nacos_dir }}"
        remote_src: no

    - name: 复制nodejs安装包
      copy:
        src: nacos.service
        dest: /etc/systemd/system/

    - name: 重新加载 systemd 管理器配置
      ansible.builtin.systemd:
        daemon_reload: yes

    - name: 启动并设置 Nacos 开机自启
      ansible.builtin.systemd:
        name: nacos
        state: started
        enabled: yes
  when: "'nacos.service' not in ansible_facts.services"
修改main.yml导入mysql_install.yml、mysql_initdb.yml、redis_install.yml、nacos_install.yml子playbook
修改main.yml
- import_tasks: mysql_install.yml
- import_tasks: mysql_initdb.yml
- import_tasks: redis_install.yml
- import_tasks: nacos_install.yml
创建server角色
在/opt/ansible目录下创建
ansible-galaxy init roles/server && cd roles/server
编写server task
将yudao.service.j2文件上传到/opt/ansible/roles/server/templates目录下
创建并启动芋道服务
创建java.yml
---
- name: 更新 apt 软件包缓存
  ansible.builtin.apt:
    update_cache: yes
    cache_valid_time: 3600

- name: 安装所需的依赖项
  ansible.builtin.apt:
    name:
      - openjdk-21-jdk
    state: present

- name: 创建服务目录
  ansible.builtin.file:
    path: /opt/yudao-cloud
    state: directory
    mode: '0755'

- name: 复制多个 jar 包并重命名
  ansible.builtin.copy:
    src: "{{ item.src }}"
    dest: "/opt/yudao-cloud/{{ item.dest }}"
    mode: '0644'
  loop:
    - { src: yudao-gateway.jar, dest: yudao-gateway.jar }
    - { src: yudao-module-infra-server.jar, dest: yudao-infra.jar }
    - { src: yudao-module-system-server.jar, dest: yudao-system.jar }

- name: 创建 systemd 服务文件
  ansible.builtin.template:
    src: templates/yudao.service.j2
    dest: /etc/systemd/system/{{ item }}.service
    mode: '0644'
  loop:
    - yudao-gateway
    - yudao-infra
    - yudao-system

- name: 重新加载 systemd
  ansible.builtin.systemd:
    daemon_reload: yes

- name: 启动并启用服务
  ansible.builtin.systemd:
    name: "{{ item }}"
    enabled: yes
    state: started
  loop:
    - yudao-gateway
    - yudao-infra
    - yudao-system
启动nginx前端服务
创建nginx.yml
---
- name: 更新 apt 软件包缓存
  ansible.builtin.apt:
    update_cache: yes
    cache_valid_time: 3600

- name: 安装所需的依赖项
  ansible.builtin.apt:
    name:
      - nginx
    state: present

- name: 清理发布目录
  ansible.builtin.file:
    path: /var/www/html
    state: absent

- name: 重新创建发布目录
  ansible.builtin.file:
    path: /var/www/html
    state: directory
    mode: '0755'

- name: 发布前端站点
  ansible.builtin.unarchive:
    src: yudao-vue3.tar.gz
    dest: /var/www/html
    remote_src: no
修改main.yml导入java.yml、nginx.yml子playbook
修改main.yml
- import_tasks: java.yml
- import_tasks: nginx.yml
创建playbooks
在/opt/ansible/playbooks中创建playbooks
创建build playbook
创建build.yml文件
- name: 构建前后项目
  hosts: build1
  any_errors_fatal: true
  vars_files:
    - ../group_vars/db.yml
  roles:
    - build
创建db playbook
创建db.yml文件
- name: 构建中间件
  hosts: db
  any_errors_fatal: true
  vars_files:
    - ../group_vars/db.yml
  roles:
    - db
创建server playbook
创建server.yml文件
- name: 构建前后项目
  hosts: server1
  any_errors_fatal: true
  roles:
    - server
创建总playbook
创建play.yml文件
- import_playbook: db.yml
- import_playbook: build.yml
- import_playbook: server.yml
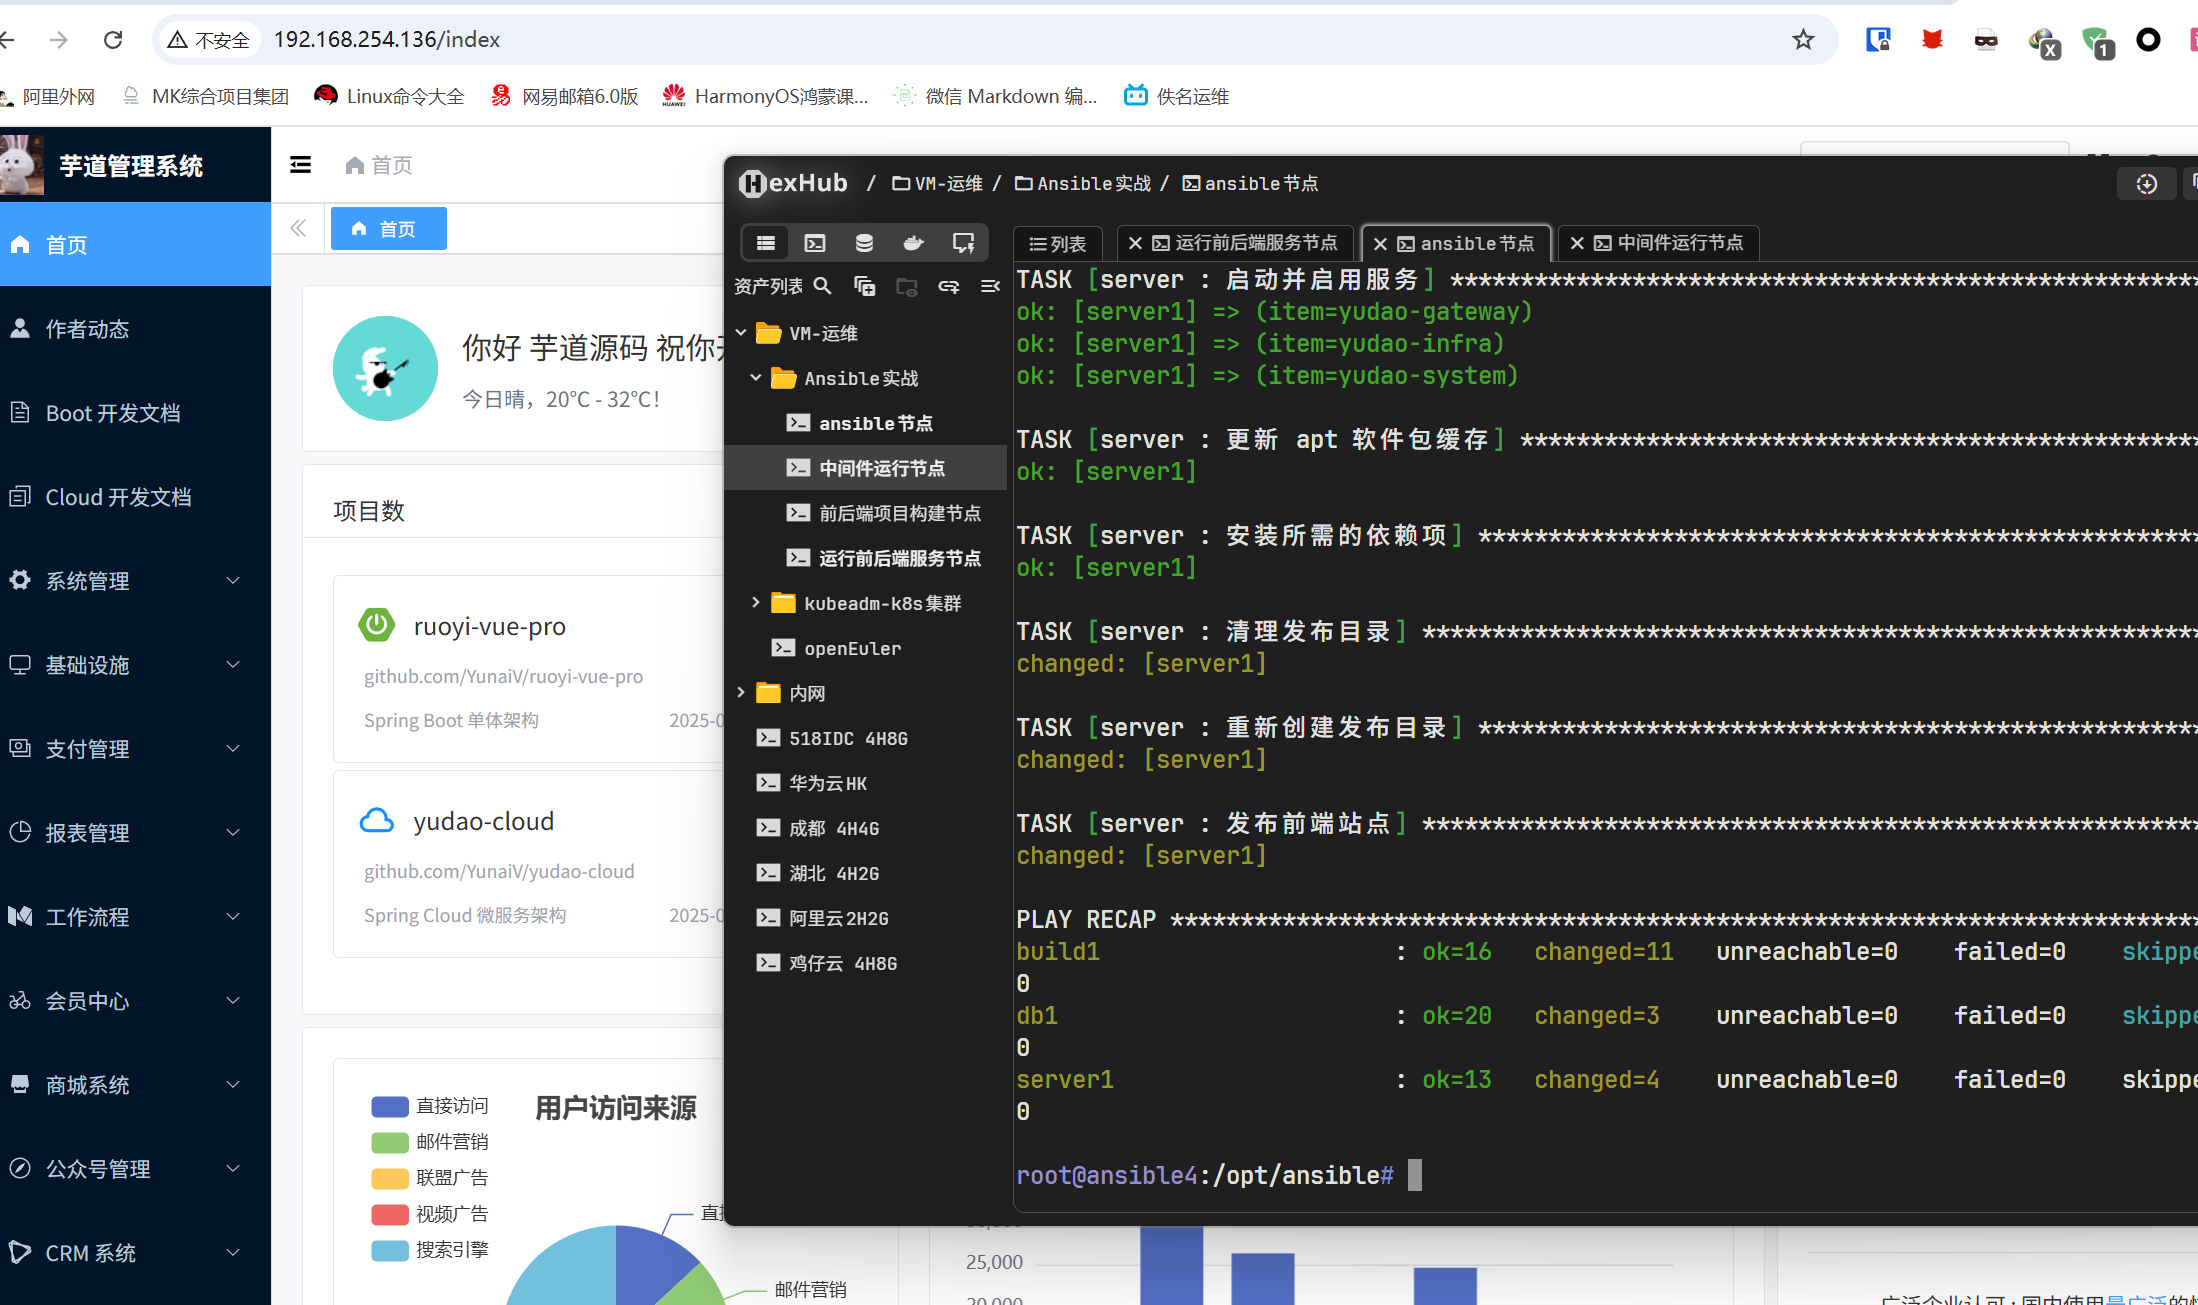
验证
安装community.mysql
ansible-galaxy collection install community.mysql
运行
ansible-playbook /opt/ansible/playbooks/play.yml -i /opt/ansible/inventory/hosts.ini
关闭防护墙
sudo systemctl disable ufw
sudo systemctl stop ufw